So for the previous team Laci was on two years ago, I made brushes for all the girls for one of the team gifts. Well now that we are at a different gym, the colors didn't quite go with her stuff, so I made Laci a new brush. But aside from just showing you the finished product... I figured I would show you a little about the process.
So I created the design on the Silhouette program here:
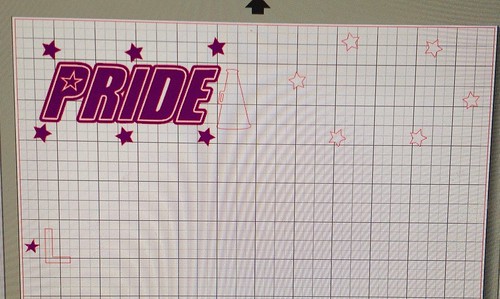
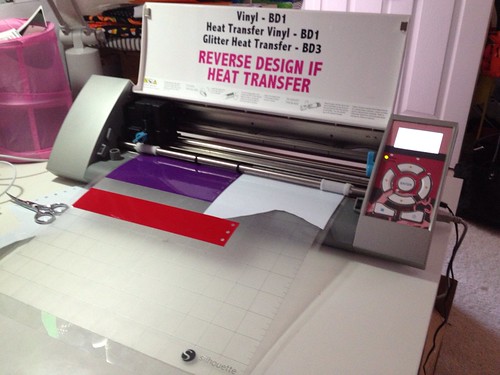
The top left stuff is purple, the stars on the right are white, and the L and the star will be cut out in red. I didn't end up using the L... it just didn't look right on the brush. I love to be efficient and cut stuff out all at once. So, that's what I did. Here is how... just put the vinyl in the same spots on the mat to cut as where they are shown on the screen... see the mat below (also my notes on the BD that I use for vinyl... hehehe)
Then weed your design and put transfer tape on it:
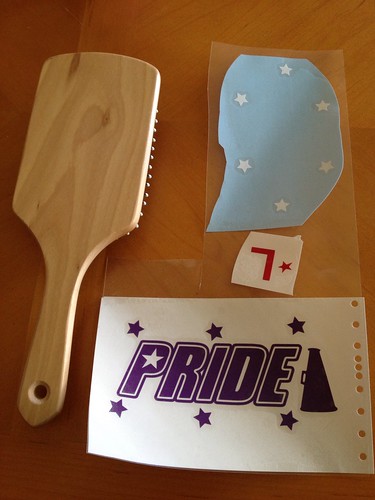
Then apply it to the brush and finish off with different colored ribbons if there is a spot to on the ends:


I think it turned out pretty rockin'! So... don't you want to go out and get a brush to decorate now?!?
What do you think?
TTFN~
Julie
No comments:
Post a Comment
Your comments are Sew Stinkin' Cute!